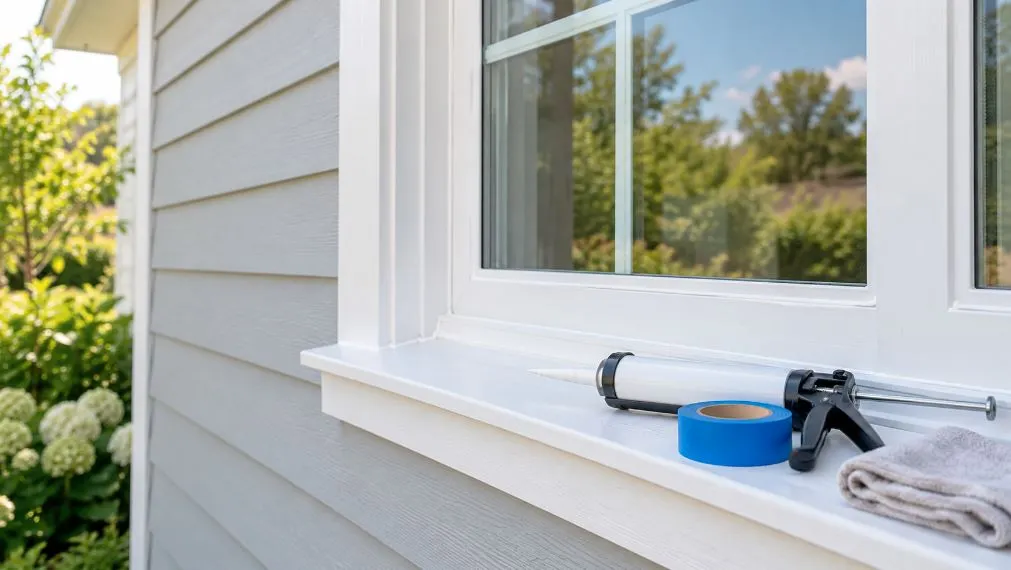
A window that lets in cold air, rattles in the wind or shows a damp patch after rain usually has a seal problem, and most of the time the fix is cheaper than people expect. Knowing how to reseal windows mostly comes down to three things: finding where the air or water is actually getting in, choosing the right sealant for that spot, and removing the old seal properly before putting new caulk on.
Done well, new caulk and weatherstripping can cut drafts, keep rain out of the wall and make a room noticeably more comfortable. Done badly, it can trap water and cause the very damage it was meant to prevent. The steps below cover both the inside and outside of the window, plus the cases where resealing is not the right fix.
Caulk, Weatherstripping or Glass: What Does Your Window Need?
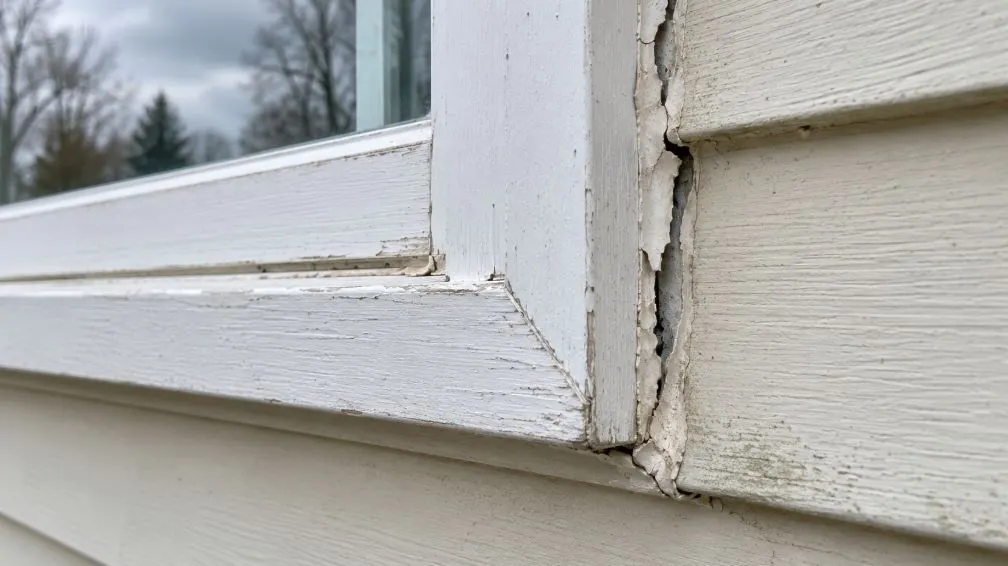
Before working out how to reseal windows, it helps to know that “resealing” can mean three different repairs, and the right one depends on where the problem is. Caulk seals gaps around parts that do not move, such as the joint between the frame and the wall. Weatherstripping seals the parts that open and close. The glass unit itself has its own factory seal, which caulk cannot repair.
| What you notice | Likely cause | Fix |
|---|---|---|
| Cracked, gapped or peeling caulk around the outside frame | Old exterior seal has failed | Remove and recaulk outside |
| Gaps between interior trim and the wall | Trim joints have opened up | Paintable interior caulk |
| Draft where the sash meets the frame when closed | Worn or missing weatherstripping | Replace weatherstripping |
| Fog or moisture between the two panes of glass | Failed insulated glass seal | Replace the glass unit (not a caulk job) |
| Soft, dark or crumbling wood on the frame or sill | Rot from long-term water entry | Repair or replace wood first, then seal |
A simple way to find drafts on a windy day is to hold a lit incense stick or a damp hand close to the frame edges and watch for movement. Check the outside too, since exterior gaps are often where water gets in.
Choosing the Right Sealant for Windows
When planning how to reseal windows, the tube you pick matters as much as how you apply it. Each type behaves differently with movement, sunlight and paint.
| Sealant type | Best for | Paintable? | Things to know |
|---|---|---|---|
| 100% silicone | Exterior joints, glass edges, damp areas | No | Very flexible and water-resistant, but paint will not stick and it is harder to remove later |
| Polyurethane | Exterior joints between frame and siding, masonry | Usually | Tough and long-lasting, but stickier to work with and slower to clean up |
| Siliconized acrylic latex | Interior trim and lower-movement exterior gaps | Yes | Easy to tool and clean with water; less flexible than silicone outdoors |
| Hybrid polymer | Exterior and interior, mixed materials | Usually | Flexible, bonds to many surfaces and can often be applied in damp conditions; usually costs more |
For most homes, a good rule is a flexible exterior-grade sealant outside and a paintable acrylic latex caulk inside. Read the label for the surfaces it bonds to (vinyl, aluminum, wood, brick), its temperature range and whether it can be painted. According to Virginia Cooperative Extension, cheaper caulks may last only a few years, while premium products are often designed to last 20 years or more, so spending a little extra usually pays off.
Tools and Materials
- Caulking gun with a smooth trigger (a drip-free gun makes cleaner beads)
- Sealant suited to each side of the window
- Plastic scraper, putty knife and utility knife
- Caulk remover or softener for stubborn silicone
- Rubbing alcohol and clean cloths
- Painter’s tape
- Foam backer rod for wider gaps
- Caulk smoothing tool, or a gloved finger and a damp cloth
- Gloves, safety glasses and a stable ladder for upper windows
Before You Start: Weather, Older Homes and Rentals
Pick a dry, mild day. Caulk needs a clean, dry surface to bond. Many products list a minimum application temperature of around 40°F (4°C), and some need warmer conditions, so check the tube. Avoid days when rain is expected before the caulk skins over, and avoid caulking in direct midday sun on a dark frame, which can make the bead set too fast.
Be careful with older homes. The U.S. Environmental Protection Agency notes that homes built before 1978 are more likely to have lead-based paint, and disturbing old paint can create harmful dust. Window frames and sills are common places for it. In an older home, test the paint before scraping or sanding, avoid dry sanding, and consider a lead-safe certified contractor if the paint around the window is chipped or needs to come off.
Renting? Interior caulking is usually a minor repair, but exterior work, ladders and anything on upper floors are normally the landlord’s responsibility. Ask first. Removable options such as clear window film or temporary draft stoppers are good stopgaps while you wait.
How to Reseal Windows, Step by Step
This is the core of how to reseal windows around the frame. Work one window at a time and finish each joint in a single session, so the new bead goes onto a surface that is still clean and dry.
1. Remove the old caulk completely
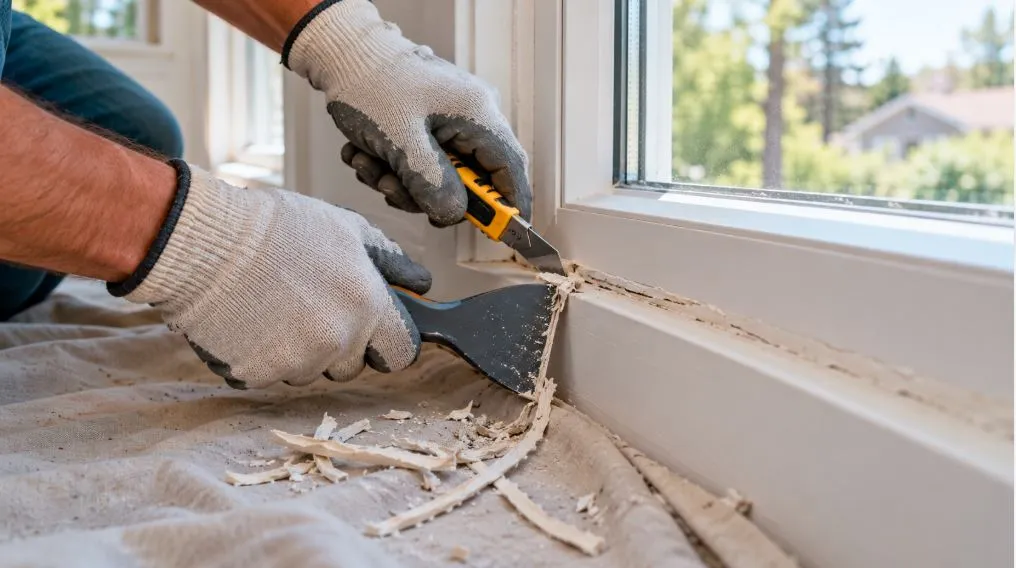
Cut along both edges of the old bead with a utility knife, then lift it out with a plastic scraper or putty knife. New caulk does not bond well to old caulk, especially silicone, so get as much off as possible. A caulk softener helps with stubborn silicone. Take care not to gouge vinyl or soft wood.
2. Clean and dry the joint
Brush out dust and debris, then wipe the joint with rubbing alcohol to remove leftover residue and grease. Let it dry fully. If you washed the area with water, wait until it is completely dry, which can take a few hours outside.
3. Fill deep or wide gaps first
Caulk works best on narrow joints. The Virginia Tech guide notes that caulk can seal openings up to about ¼ inch (6 mm); wider gaps need foam backing first. Press foam backer rod into the gap so it sits a little below the surface, leaving room for the caulk. The rod saves sealant and helps the bead stretch properly as the house moves with the seasons.
4. Tape the edges (optional but helpful)
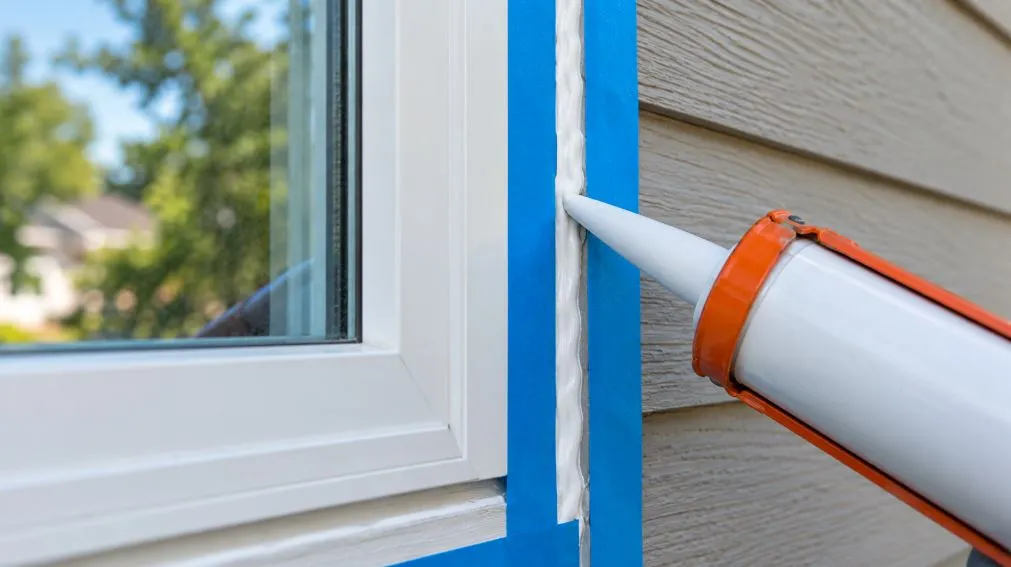
Run painter’s tape along both sides of the joint, leaving a neat channel. Tape is the easiest way for a beginner to get a straight, professional-looking line.
5. Cut the nozzle and load the gun
Cut the tip at a 45-degree angle, starting small; you can always cut more. The opening should be slightly narrower than the gap. Puncture the inner seal of the tube, load the gun and squeeze until sealant reaches the tip.
6. Apply one steady bead
Hold the gun at about 45 degrees and push or pull it along the joint in one continuous motion, with even pressure. Stopping and starting creates weak spots. Fill the joint fully so the caulk touches both sides of the gap.
7. Smooth it and remove the tape
Run a smoothing tool or a gloved, lightly damp finger along the bead to press it into the joint and shape a slight curve. Peel the tape off straight away, pulling away from the bead, before the caulk starts to skin over.
8. Let it cure before painting or rain
Follow the cure time on the label. Most caulk is touch-dry fairly quickly but needs longer before it can be painted or handle heavy rain. Keep the window closed and undisturbed until then.
Sealing Inside vs Outside the Window
The outside seal does the heavy lifting: it keeps rain and wind out of the wall. Focus on the joint where the window frame meets the siding, brick or trim, plus the top edge of the frame where water runs down.
The inside seal mainly stops drafts and gives a finished look. Seal gaps between the trim and the wall, and between the trim and the frame, with a paintable acrylic latex caulk.
One important exception: do not caulk weep holes. Many vinyl and aluminum windows have small slots along the bottom of the frame that let trapped water drain out. Sealing them traps water inside the frame, which can lead to leaks and rot. Also avoid sealing the bottom edge of exterior trim where it is designed to drain, and never caulk a window shut if it needs to open, especially in bedrooms where it may be an emergency exit.
Weatherstripping the Parts That Move
Part of knowing how to reseal windows is spotting when caulk is the wrong tool. If the draft comes from where the window closes, caulk will not help, because the gap opens and closes every day. That is a job for weatherstripping.
- Double-hung and single-hung windows: V-strip (tension seal) along the sides of the sash and a strip where the two sashes meet.
- Casement and awning windows: compression strips or foam tape where the sash presses against the frame.
- Sliding windows: pile weatherstripping (brush-like strips) in the tracks.
Remove the worn strip, clean the surface and fit the new one so the window still closes and locks easily. A strip that is too thick can make the window hard to latch.
When Resealing Will Not Fix the Problem
Some window problems look like a seal issue but need a different repair.
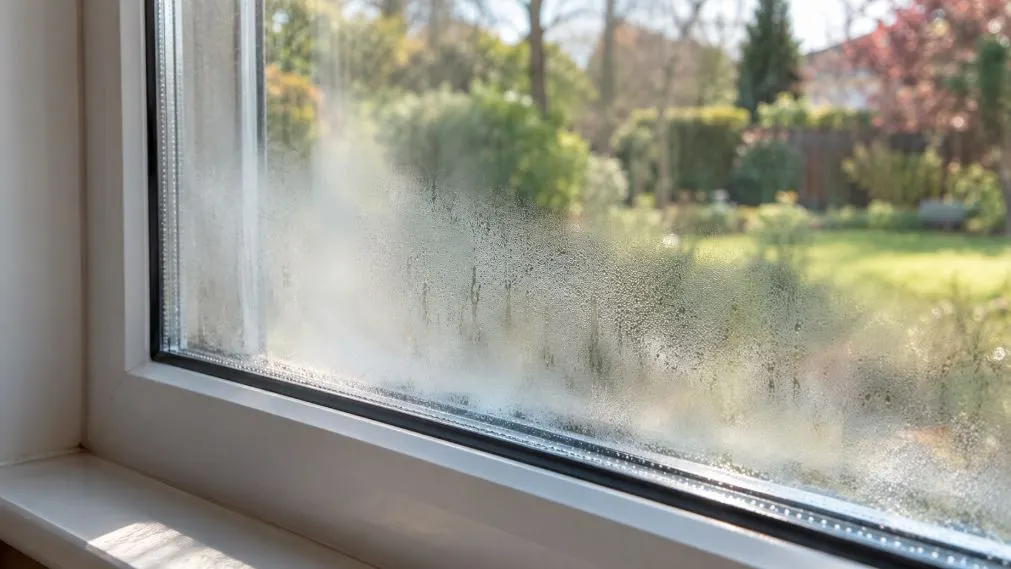
- Fog between the panes: the factory seal of the insulated glass unit has failed. Caulking the outside will not remove the moisture. The glass unit (not always the whole window) usually needs replacing by a window or glass specialist.
- Rotten wood: caulk over rot hides the damage while it spreads. Small soft spots can be repaired with wood filler or epoxy; larger rot needs a carpenter.
- Water inside the wall or ceiling below the window: this can point to failed flashing behind the siding, which is a job for a professional.
- Warped or badly misaligned frames: if the sash no longer fits the frame, weatherstripping can only do so much, and repair or replacement may be better value.
How Long New Caulk Lasts and How to Check It
Quality caulk can last many years, but sun, cold and house movement wear it down. A quick check once or twice a year, ideally before winter and after a stormy season, catches problems early. Look for cracks, gaps along the edges, hardened or shrunken beads and any spots where the caulk has pulled away. Small failures can be cut out and redone locally rather than resealing the whole window again.
Frequently Asked Questions
How often should windows be resealed?
Check window caulk every year and reseal when it cracks, shrinks or pulls away. Depending on the product and exposure, that can be every few years for cheaper caulk or much longer for premium exterior sealants.
Can I put new caulk over old caulk?
It is not recommended. New caulk bonds poorly to old caulk, especially silicone, so the new bead may peel off quickly. Removing the old seal first gives a much longer-lasting result.
Should I use silicone or acrylic caulk for windows?
Use a flexible exterior-grade sealant such as silicone, polyurethane or a hybrid polymer outside, and a paintable acrylic latex caulk inside. Silicone cannot be painted, so avoid it on interior trim that will be painted.
Can I reseal windows in winter?
Indoor caulking is fine in winter. Outdoors, many caulks need temperatures above about 40°F (4°C) and a dry surface, so check the product label. Some products are made for cold-weather use; otherwise, use temporary draft stoppers until a milder day.
How do I fix a foggy double-pane window?
Fog between the panes means the insulated glass seal has failed, and caulk cannot fix it. The usual solution is replacing the glass unit, which a window or glass company can often do without replacing the whole frame.
A Simple Plan for Your First Window
Start with the window that feels draftiest or faces the worst weather. Check whether the problem is the frame joint, the moving sash or the glass, then use the matching fix. For frame gaps, remove the old caulk, clean and dry the joint, use backer rod for wide gaps, and lay one steady bead of the right sealant.
Once one window is done, the rest go much faster, and learning how to reseal windows properly means the same skills work on doors and trim too. Leave the weep holes open, take care with old paint in pre-1978 homes, and call a professional for fogged glass, rot or water inside the wall. Once the gaps are sealed, lined floor-length curtains add another layer against cold glass, and this guide on how to measure for curtains helps you get the size right.