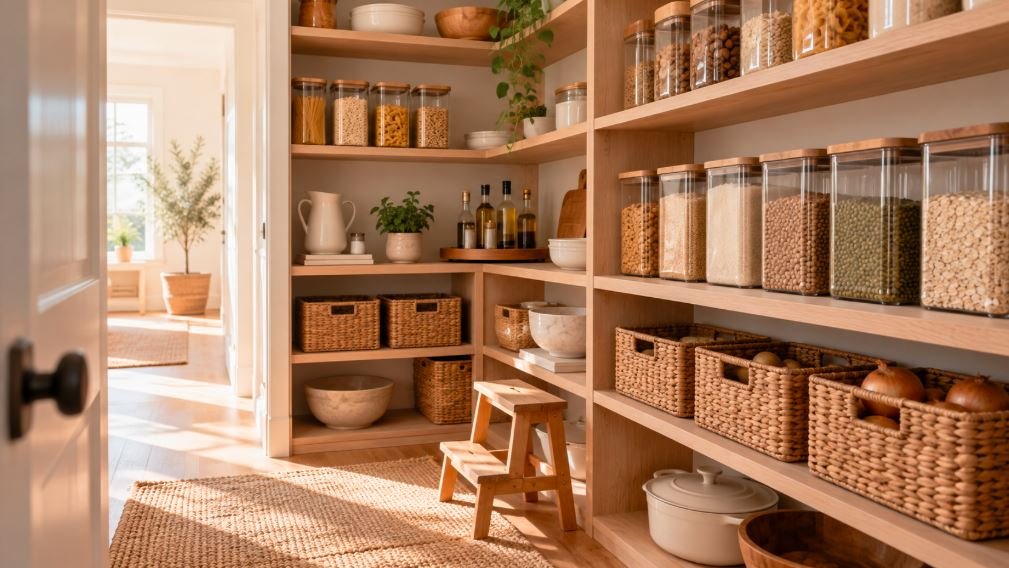
Buying a third jar of cumin because the first two were hidden behind the cereal is a sign the pantry needs a system, not more space. Knowing how to organize a pantry comes down to three things: grouping food the way you actually cook, putting the most-used items at the easiest height, and making the back of each shelf visible.
The steps below work for a walk-in pantry, a reach-in closet or a single kitchen cabinet. Most of them need no drilling, so they suit renters too.
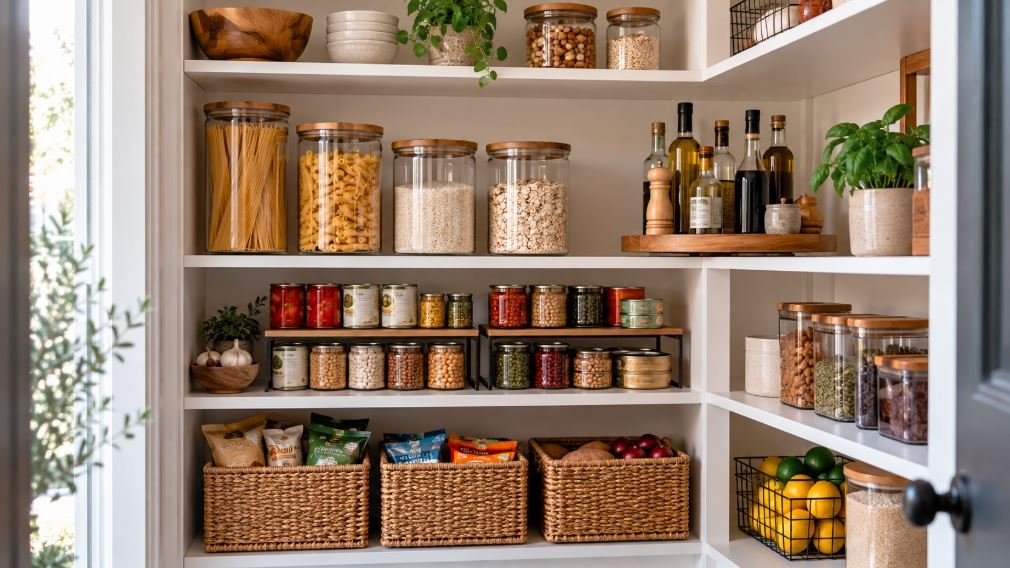
Step 1: Empty It and Check Every Date
Take everything out. Doing one shelf at a time feels faster, but it hides duplicates and lets old items slip back in.
As you empty the shelves, make three piles: keep, use soon and throw away. Discard anything past its date, anything with signs of pests, and cans that are bulging, leaking, rusted or badly dented along the seam. Open bags of flour, nuts and crackers that smell stale go too.
For reference, New Mexico State University’s guide to storing food safely suggests using most unopened canned goods within about a year and white flour within 6 to 8 months. Those times are for quality, so follow the package dates when they are given.
Wipe the empty shelves with warm soapy water and let them dry fully before anything goes back. This is also the moment to measure: shelf depth, width and the height between shelves. You will need those numbers before buying a single container.
Step 2: Group Food by How You Use It
The heart of how to organize a pantry is grouping. Put like with like, but group by habit rather than by food science. A household that bakes every weekend needs a baking zone; one that never bakes can fold flour and sugar into a general dry goods zone.
Common pantry zones include:
- Breakfast: cereal, oats, nut butter, honey, coffee and tea
- Grains and pasta: rice, pasta, quinoa, couscous, noodles
- Cans and jars: beans, tomatoes, soup, broth, sauces
- Baking: flour, sugar, baking soda, chocolate chips, vanilla
- Oils, vinegars and condiments
- Snacks: crackers, chips, granola bars, dried fruit
- Backstock: extra unopened items waiting their turn
Keep each zone together on one shelf or one section of a shelf. A zone that is split across two places will be messy within a week.
Step 3: Give Each Zone the Right Height
Shelf height decides how often an item gets used. Eye level and the shelf just below it are the prime spots, so they should hold what you reach for daily.
| Shelf height | Best for | Why |
|---|---|---|
| Top shelf (above eye level) | Backstock, party supplies, rarely used appliances | Needs a step stool, so keep it for items you visit monthly |
| Eye level | Daily items: cereal, coffee, pasta, oils | Easiest to see and reach for every adult |
| Waist level | Cans, jars, baking supplies | Strong enough for heavy items without lifting overhead |
| Low shelves and floor | Kids’ snacks, bulk bags, drinks, potatoes and onions in breathable bins | Children can help themselves, and heavy items stay low |
Heavy items such as bulk rice, drink packs and large cans belong low. Lifting them from a high shelf is awkward and a dropped can hurts.
Step 4: Solve Deep Shelves Before Buying Containers
Deep shelves are the main reason pantries fail. Anything more than about 16 in (41 cm) deep tends to hide a second row that nobody sees. There are three ways to fix it, and they work best combined.
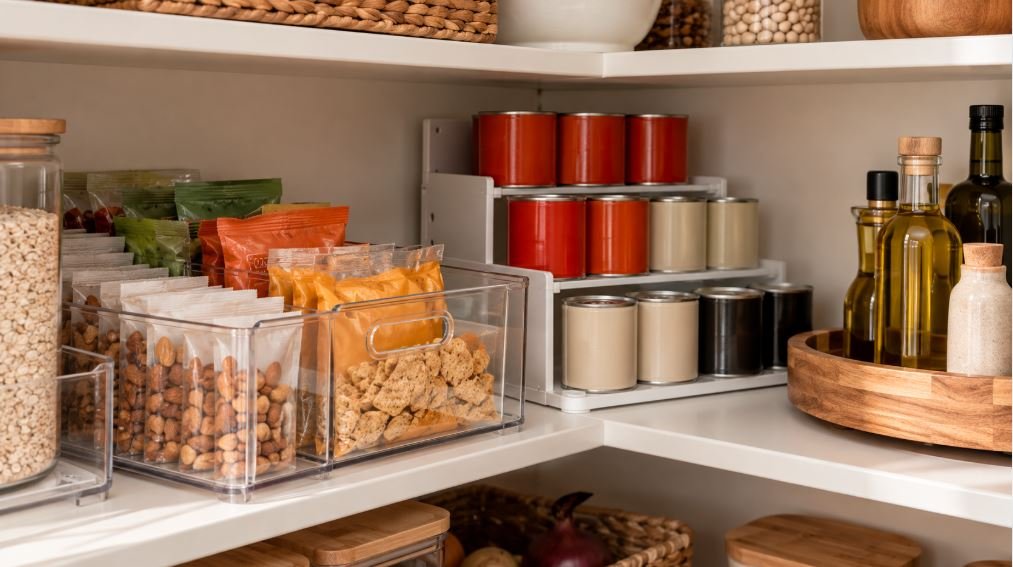
Pull-out bins. A long clear bin or basket that runs from the front of the shelf to the back works like a drawer. Pull it forward and everything in the back row comes with it. Bins with a handle at the front are easiest to use.
Turntables. A lazy Susan in a deep corner keeps oils, vinegars and sauces within one spin. A 10 to 12 in (25 to 30 cm) turntable suits most shelves; corners in walk-in pantries can take larger ones.
Shelf risers. Tiered risers lift back-row cans so their labels show above the front row. They suit canned goods and spice jars, and they are cheap.
The same logic works in kitchen cabinets and drawers. If you have already tackled deep kitchen drawers, the pantry follows the same rule: everything should be visible from the front, or it should be in something that pulls forward.
Step 5: Choose Containers That Fit Your Shelves
A common mistake when people learn how to organize a pantry is buying containers first. Containers look good in photos, but they only help when they fit the shelf and the food. Measure first, then buy a few and test them before buying a full set.
Decanting, or pouring dry goods into clear airtight containers, works best for items you use often and buy repeatedly: rice, pasta, oats, flour, sugar and cereal. Airtight lids keep out moisture and pantry moths, and you can see when you are running low. Square or rectangular containers waste less shelf space than round ones.
Decanting is not worth it for everything. Items you buy once a year, odd-shaped snack bags and food you finish within a few days can stay in their packaging inside a basket. If you decant, write the expiry date on a small label or on masking tape under the container, or cut the cooking instructions from the box and tape them to the back.
Step 6: Label Shelves and Bins, Not Just Jars
Labels are what keep a pantry organized after the first week, especially in a shared home. Label the shelf edge or the front of each bin with the zone name, so everyone knows where the crackers go back, not just where they came from.
Simple printed labels, chalkboard labels or clip-on tags all work. Keep the wording short and general (“Snacks”, “Baking”, “Breakfast”) so the system survives when you buy a different brand.
How to Organize a Pantry That Is Just a Cabinet
Many kitchens have no pantry at all, only one tall cabinet or a couple of upper shelves. The same steps apply, but space is tighter, so every inch matters.
- Add an under-shelf basket to use the empty air between shelves for small packets.
- Use stackable shelf inserts to create two levels on tall shelves.
- Keep only one of each item in the cabinet and store backstock somewhere else, such as a high cupboard or a closet shelf.
- Turn a nearby drawer into a spice or packet drawer, with jars lying flat and labels facing up.
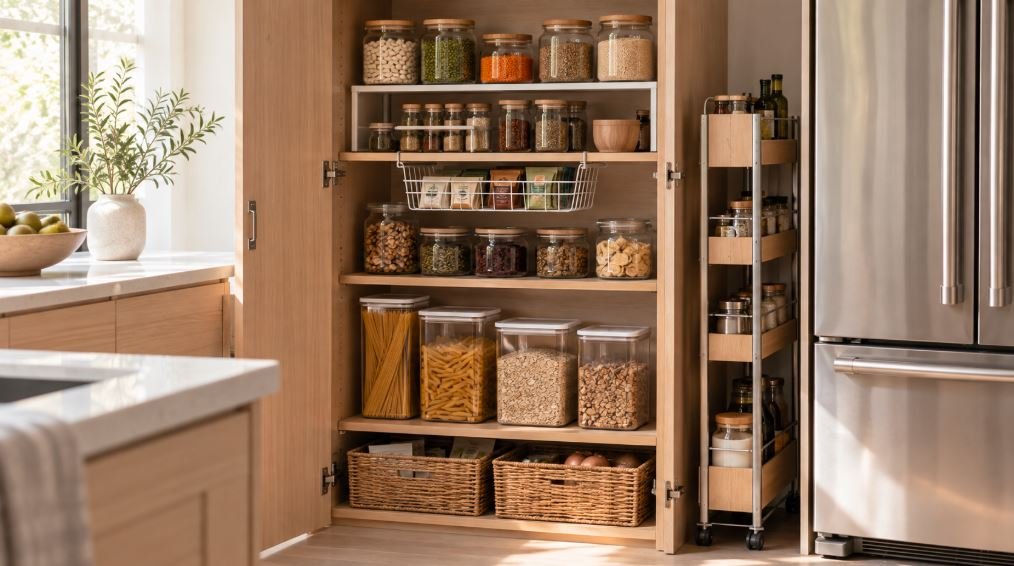
In a very small kitchen, a rolling pantry cart that slides into a 6 to 9 in (15 to 23 cm) gap beside the fridge can hold cans and jars. Measure the gap and check the cart’s weight limit before filling it with heavy cans.
Use the Pantry Door and Walls
The back of a pantry door can hold a surprising amount. An over-the-door rack with shallow baskets suits spices, seasoning packets, foil, plastic wrap and baby food jars. Before buying one, check that the door can still close once the rack is full, and that the rack clears the shelves inside.
In a walk-in pantry, the side walls can take pegboard or hooks for aprons, reusable shopping bags and a step stool. The step stool matters more than it sounds. If the top shelf is hard to reach, it slowly becomes a dumping ground.
Where Should Pots, Appliances and Cleaning Supplies Go?
Pantries often become storage for everything that does not fit in the kitchen. Small appliances such as a stand mixer, air fryer or slow cooker can live on a low, sturdy shelf, ideally close to the door. Pots and pans are usually easier to use in a cabinet near the stove; the guide on how to organize pots and pans covers the options.
Keep cleaning products and chemicals out of the food pantry. Food storage guidance generally advises against storing food next to household chemicals, and a leaking bottle can ruin a shelf of open food.
Keep Pests and Moisture Out
A pantry should be cool, dry and dark. Many extension services recommend keeping food storage areas away from the stove, the oven and the fridge’s warm exhaust, because heat shortens shelf life.
Pantry moths and weevils usually arrive in a bag of flour, grains or nuts. Airtight containers stop them from spreading, and a pantry wipe-down every few months removes crumbs that attract them. If you find an infestation, throw out the affected food, vacuum the shelf corners and check nearby packages before restocking.
A Simple Routine That Keeps It Organized
Knowing how to organize a pantry is only half the job, because even the best system drifts. A short routine keeps it working:
- When you unpack groceries, put new items behind the older ones. This is called first in, first out.
- Once a week, move anything near its date to the front, or to a “use soon” bin.
- Once a month, take five minutes to return stray items to their zones.
- Twice a year, empty one shelf at a time, check dates and wipe it down.
Adjust the zones whenever your cooking changes. A pantry set up for a family with toddlers will look different when those children are teenagers.
Frequently Asked Questions
What is the best way to organize a pantry?
The best way to organize a pantry is to empty it, group food into zones based on how you cook, put daily items at eye level and heavy items low, then use pull-out bins, turntables and risers so nothing hides at the back. Labels on shelves and bins keep the system working.
Should you decant food into containers?
Decanting is worth it for dry goods you use often, such as rice, pasta, oats, flour and cereal, because airtight containers keep food fresh and show when you are running low. For items you rarely use, baskets with the original packaging are simpler and cheaper.
How deep should pantry shelves be?
Pantry shelves of about 12 to 16 in (30 to 41 cm) are easiest to use because items do not get lost at the back. Deeper shelves work better with pull-out bins or turntables.
How do you organize a pantry with no shelves?
Use a freestanding shelving unit, stackable bins or a rolling cart to create levels, then follow the same zone and height rules. Over-the-door racks add storage without any drilling.
Start With Your Busiest Shelf
If the whole pantry feels like too much, start with the shelf you open every morning. Sort it, give it a zone, add one pull-out bin or turntable, and label it. That one shelf shows quickly whether the system fits your habits.
Once it works, repeat the same steps shelf by shelf. Learning how to organize a pantry is less about buying matching containers and more about making every item easy to see, reach and put back.